.svg)
Driftrock Manual Lead Upload Guide
Building your CSV
To upload leads manually to Driftrock you must add them to a CSV file.
You can see our template and download it directly here.
Here are a few tips on how to pull this file together:
- Make sure you only upload events of the same type in each file upload
- Ensure each data field exists as a new column with the field name as the header
- Include a unique identifier (ID) for each lead, Driftrock can then use this field to de-dupe should you attempt to re-upload this same lead later down the line
- Include an event time-stamp in order to generate time series reports on your leads in Driftrock’s reporting dashboard (the event timestamp should be in ISO 8601 extended format: YYYY-MM-DDThh:mm:ssZ)
E.g

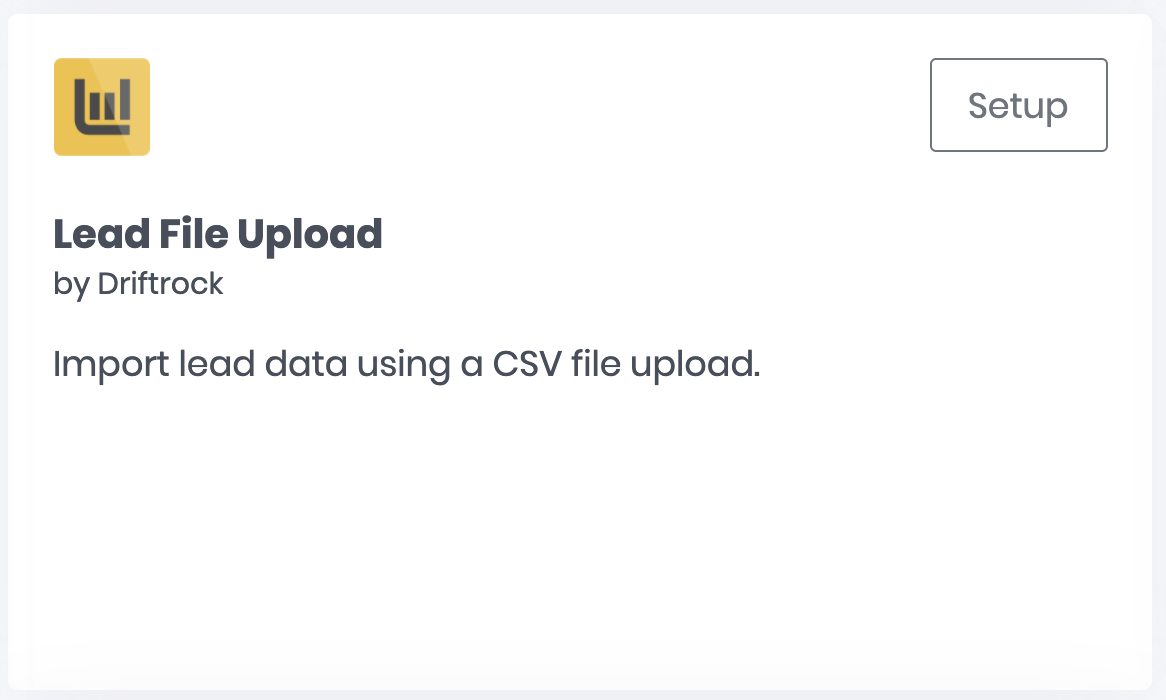
Head to the Lead Capture Library, and find ‘Lead File Upload’ and click ‘Setup’.
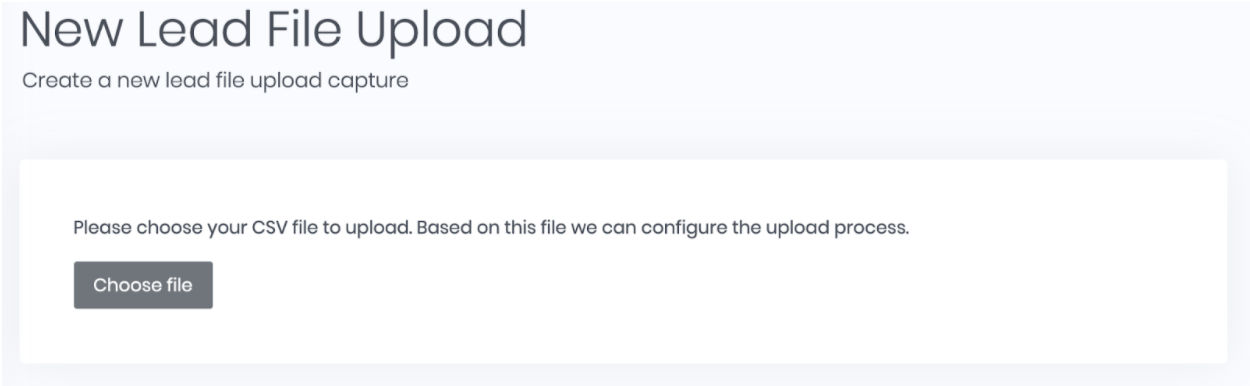
Click ‘Choose file’ to upload your leads.
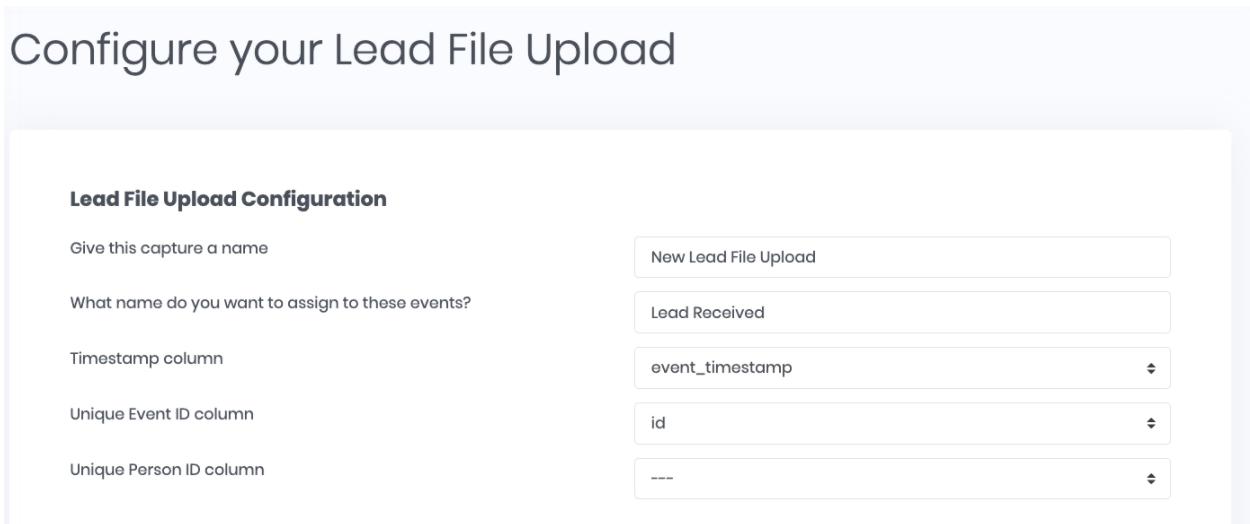
Once you’ve uploaded your file, you need to configure it to Driftrock.
Give your capture a name, and then select which fields (columns) indicate your timestamp and Unique IDs
Then map your fields (columns) to a Driftrock field.
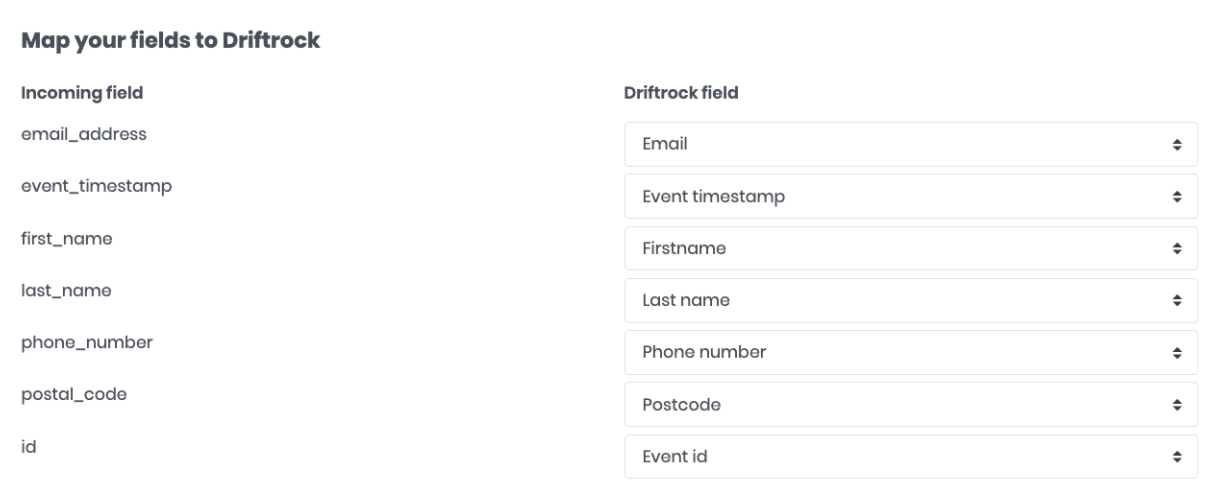
Hit save to complete the configuration.
If you’d like to send your leads to a CRM, head to Destinations to set up and map your Driftrock fields to your chosen Destination.
When you’re ready to import, head back to the Overview page and click ‘trigger the import of the file’.
