.svg)
Driftrock Website Banner Form Guide
Driftrock Website Banner Form Guide
Head to the Lead Capture Library and click to set up a Driftrock Website Banner Lead Form
.png)
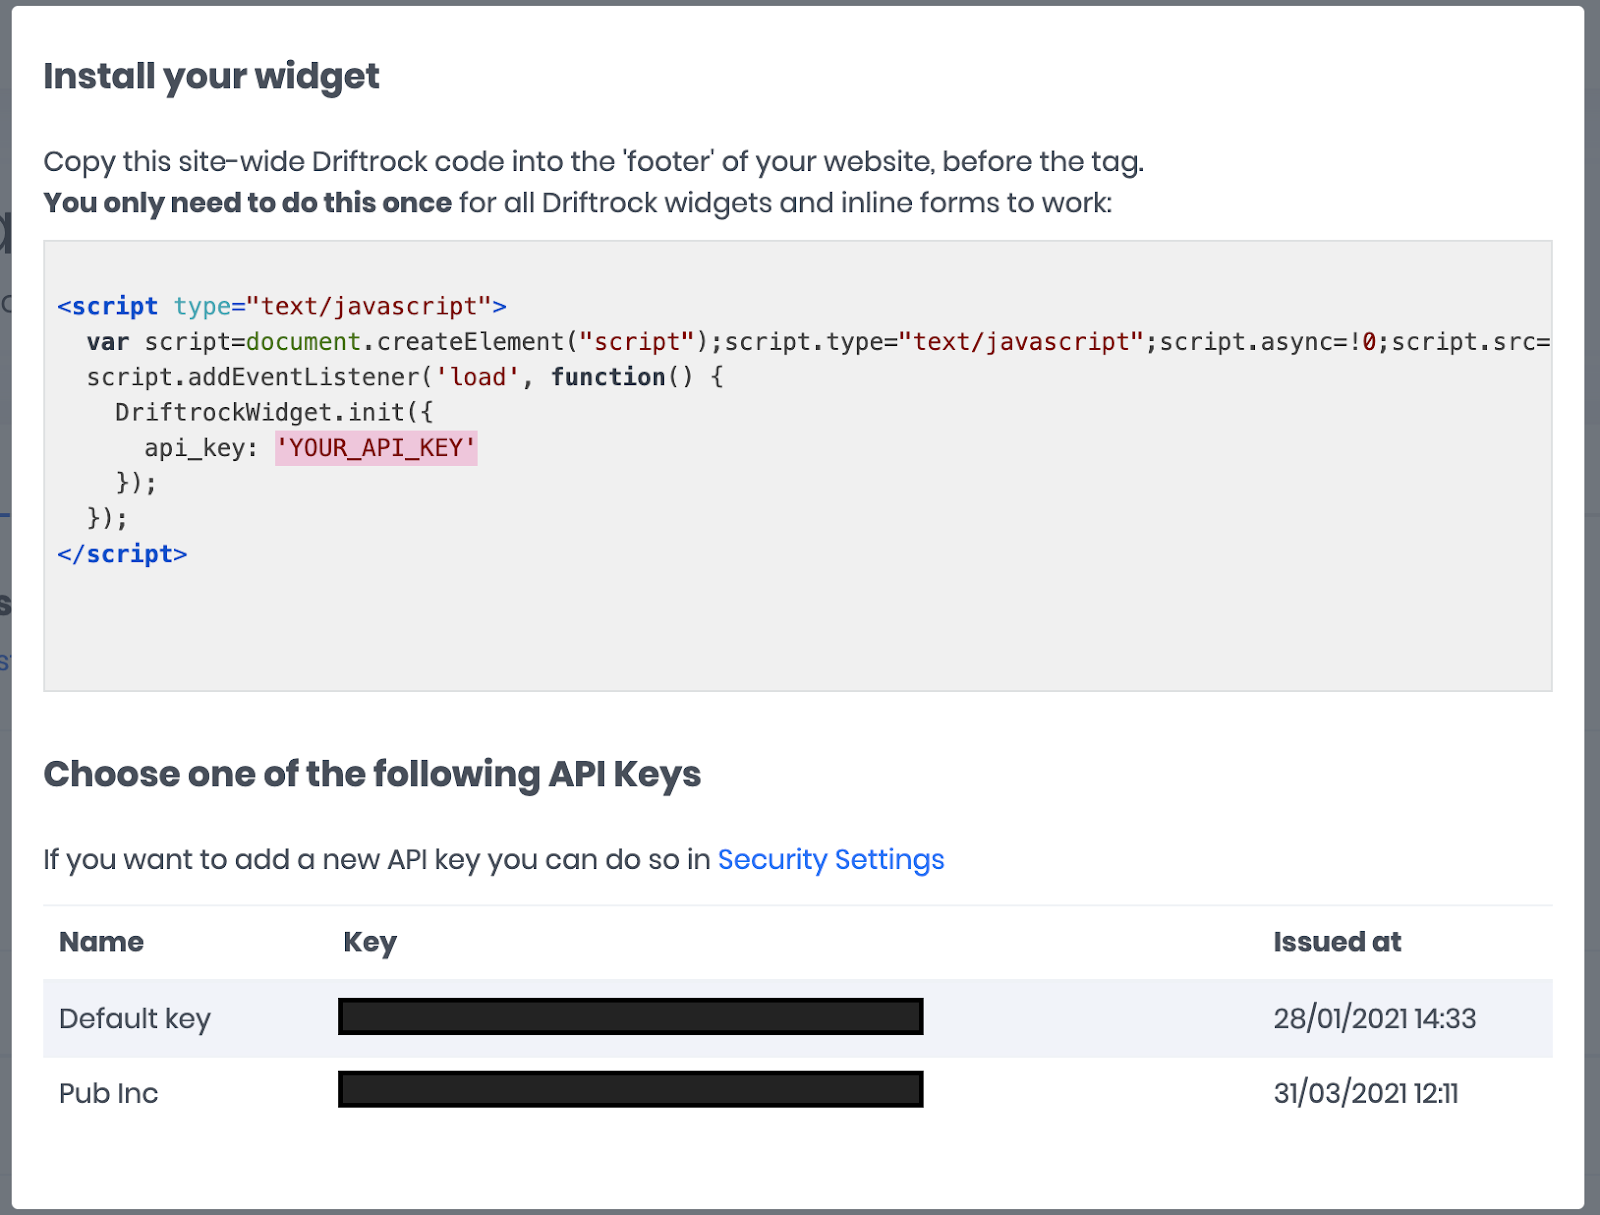
Click the ‘follow these instructions’ link to show the code you’ll need to install onto your website.
Copy and paste the script shown into the footer of your website. Where it says ‘YOUR_API_KEY’ be sure to paste in your chosen Driftrock API key. If you’ve not yet got an API key, follow the instructions to set one up.
Head to the Setup page to set up your banner form.
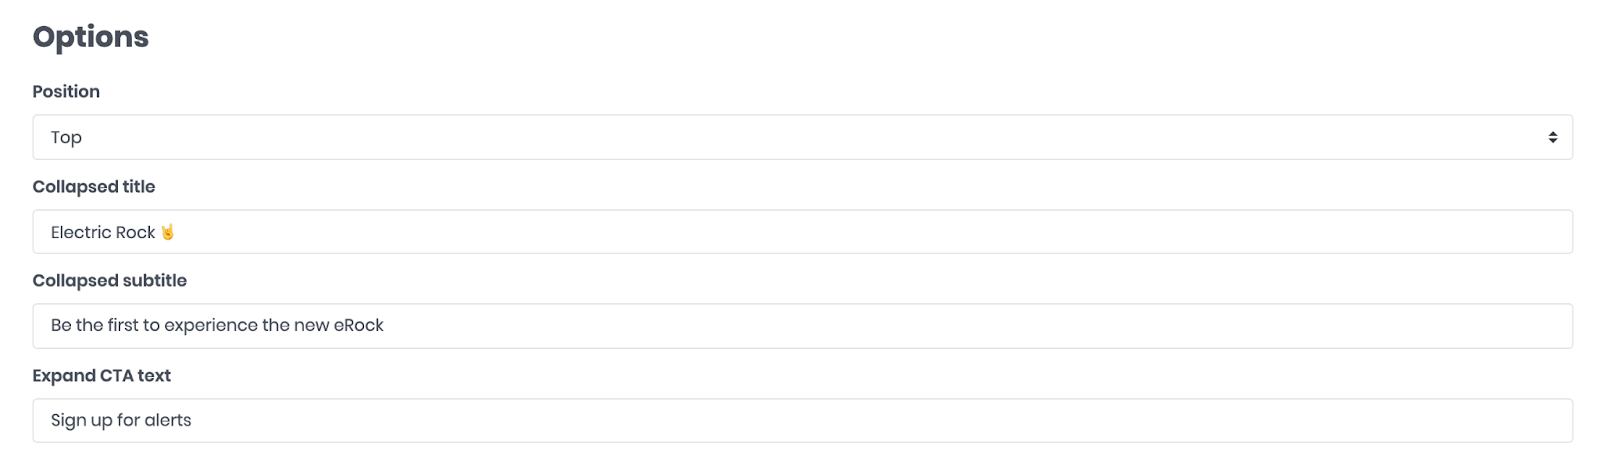
Options
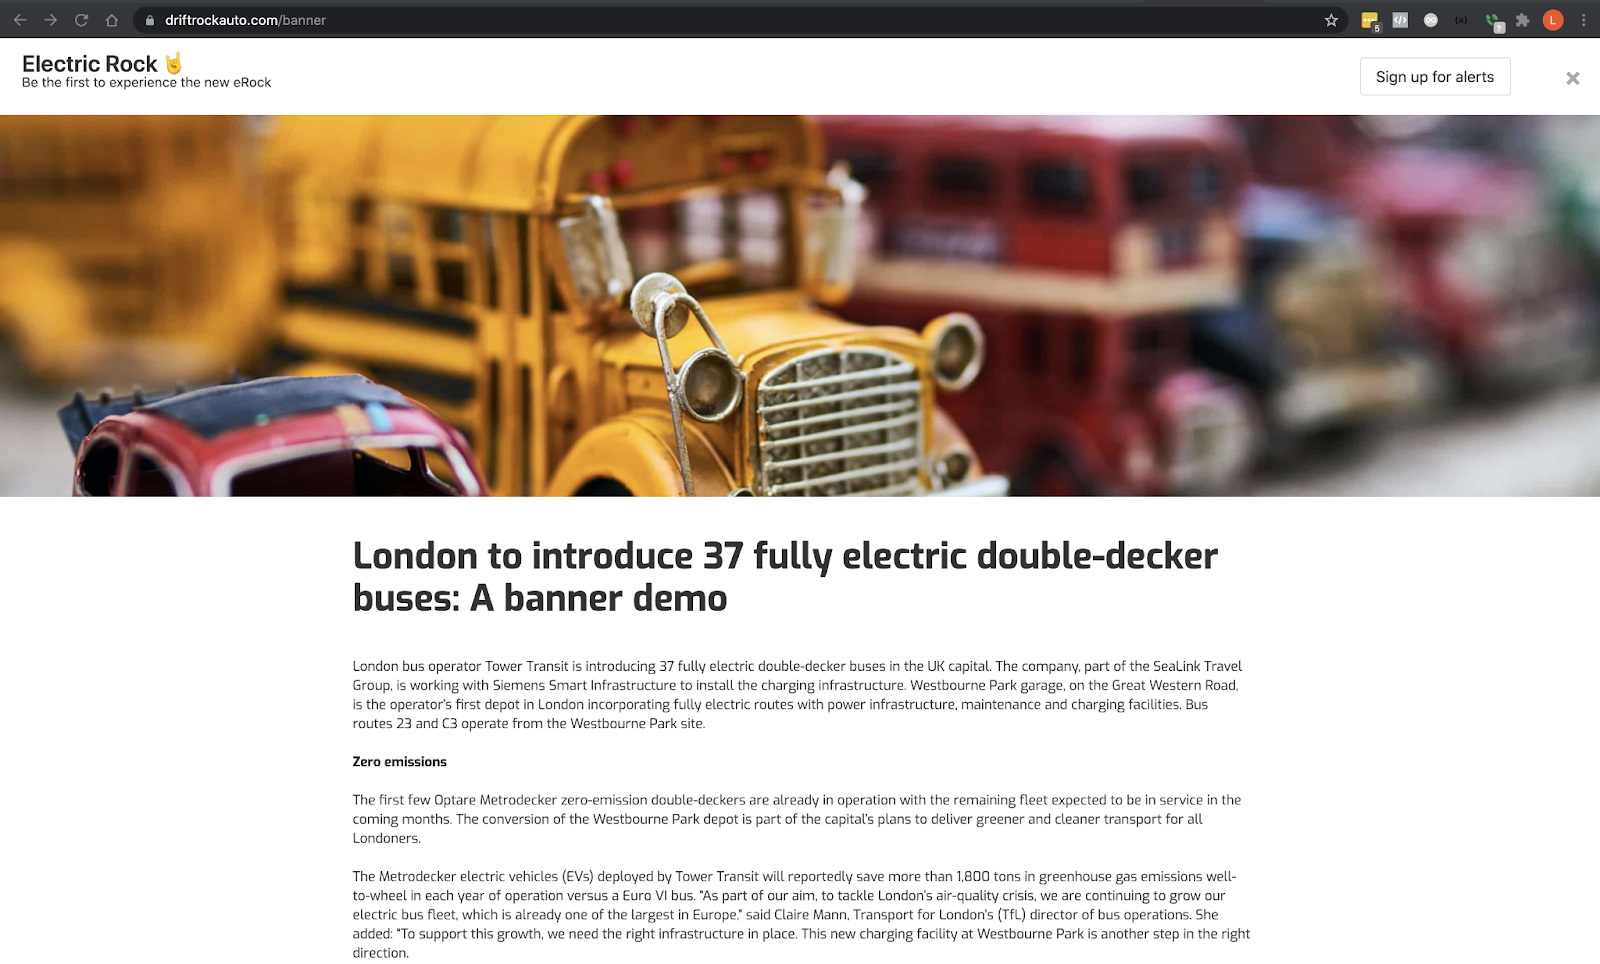
Set where you’d like your banner form to appear on the page, and give it a title, subtitle and call to action text.
Display Rules
Add a page
Specify which page(s) you’d like your banner form to be displayed on in the Display Rules section. Click to add a page.

Copy and paste the URL you’d like the banner form to appear on in the URL box, or alternatively use a wildcard to show the banner form on multiple pages.
For example:
- Entering www.driftrock.com/* will display the banner form on all pages on the Driftrock website
- Entering www.driftrock.com/industries/* will display the banner form on all of our Industry pages.
- Entering www.driftrock.com/*/lead-capture will display the banner form on any page with ‘lead-capture’ at the end of the URL extension
Trigger
Select when you’d like your banner form to trigger on your page(s).
On page load
Trigger your banner form as soon as the page loads
Tip: We advise using a banner from the bottom of the page when triggering on page load to avoid Content Layout Shift issues.
On click
Trigger your banner form when an element is clicked
To trigger your banner form upon clicking, first create a HTML element with a unique ID or Class (the CSS selector you will use to trigger the banner form) e.g. a button, text or div.
Here’s an example of a button element:
<a id="banner-button-trigger1" href="#" class="banner-trigger-button">Click here!</a>
Copy and paste your class or id into the box.
- An id should look like this - #your-id
- A class should look like this - .your-class-name

Style
Optionally set the colours you’d like your banner form to be in this section using HTML colour codes

Fields & Consent
Add all of the questions you’d like to ask in your form in this section, as well as any custom consent text/checkboxes you’d like to display to the customer.
Tip: We’d recommend keeping your consent text as short as possible to reduce dropoff rate.
Banner form Activation
When you’re ready, head back to the Setup page to switch your banner form on.

Banner form Leads Sync
From the Destinations page, connect your CRM, email system or other integrations to sync your leads in real time.
Create a Website Banner Form - no credit card required!
For any more questions, feel free to click on the intercom chat bubble or contact us.