.svg)
Using Facebook's Lead Ads
What is a Facebook Lead Ad?
A lead ad on Facebook essentially attaches a form to your paid advertising. These forms can be used by marketers to capture extra information from their customers, including offering additional opportunities to connect, for example organising a test drive, subscribing to a newsletter or registering for content.
Not only are Facebook’s Lead Ads really easy to set up, they also offer a quick, simple and slick experience for the user. Upon opening the form, many of the questions will be pre-populated with information from the user’s Facebook profile, and the rest can be completed in a few easy taps, without ever needing to leave the Facebook app.
How to create a Facebook Lead Ad:
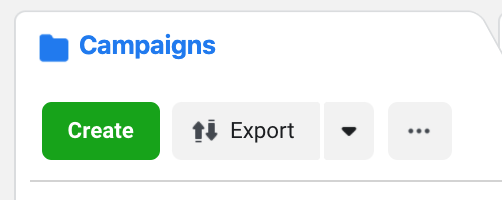
1. Go to Ads Manager.
2. Click create in the top left corner
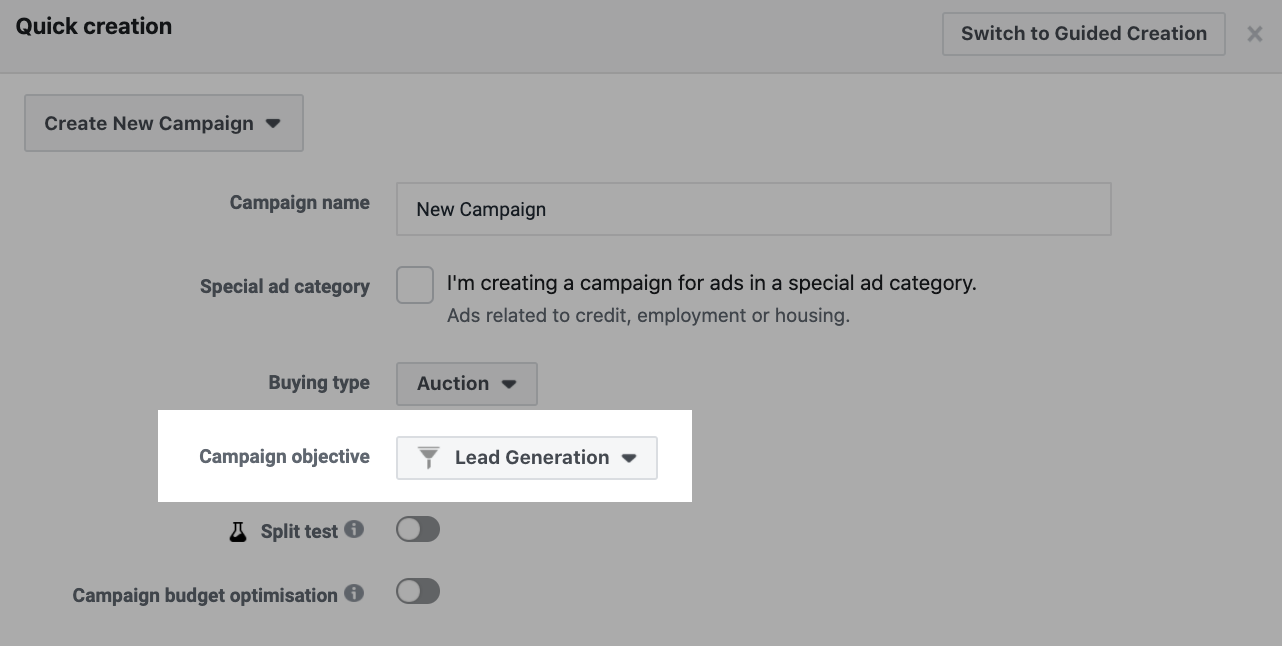
3. Name your campaign, and select Lead Generation as your objective
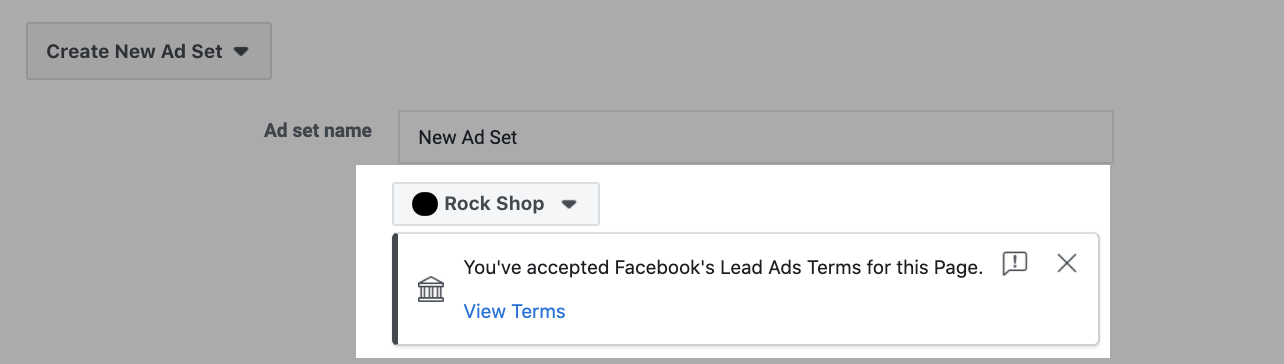
4. Choose the page you plan to use for your lead ad. (You’ll also need to accept the terms and conditions for lead ads if you have not done this already)
5. Set your ad set settings as normal – targeting, budget, placement and schedule.
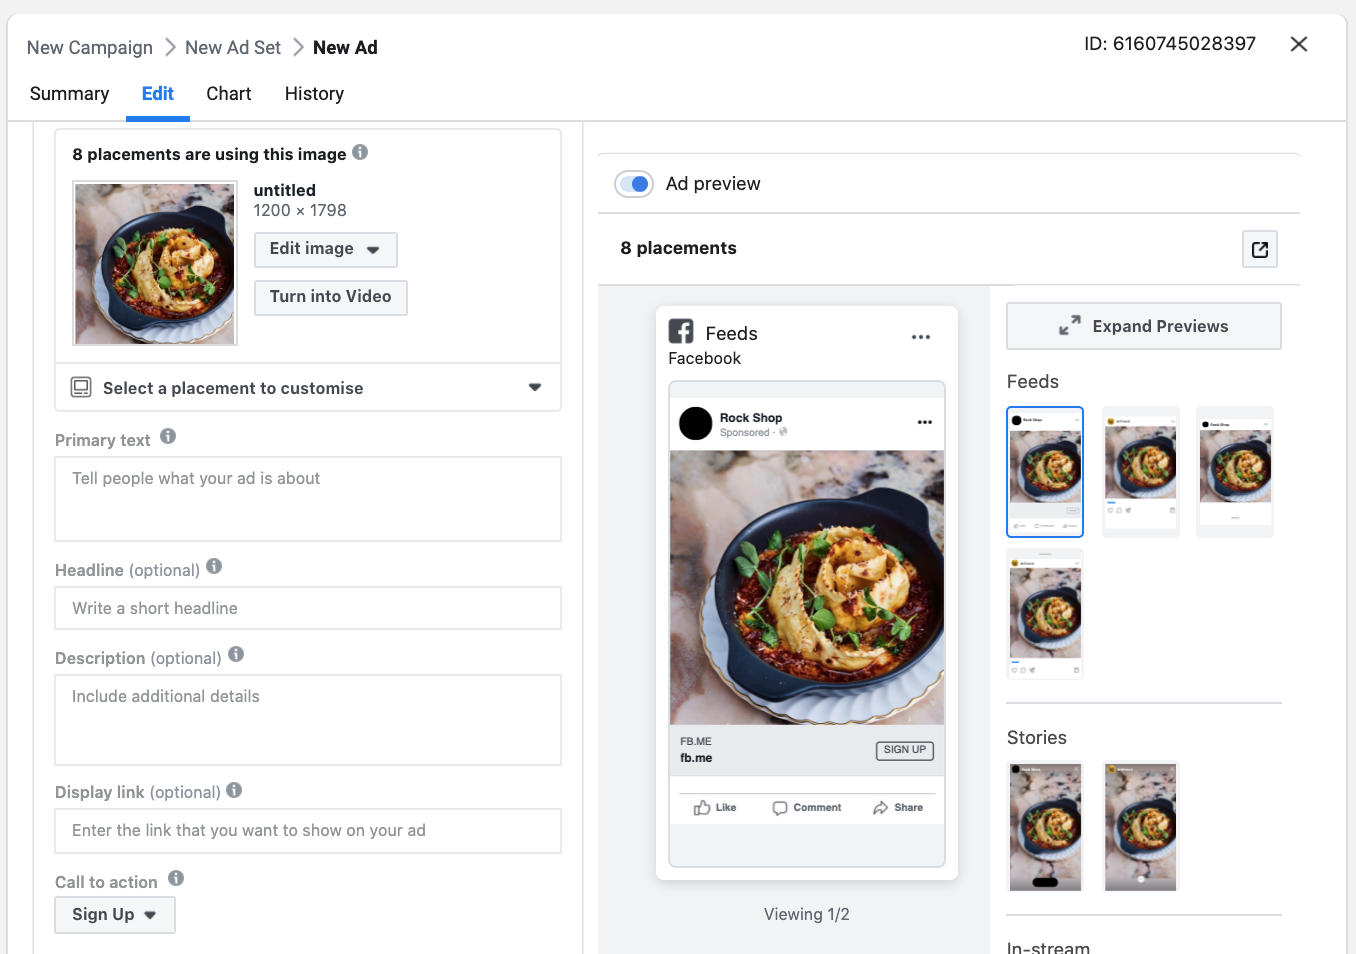
6. Set up your ad, including format, creative, copy, headline and call to action. (Remember that the call to action button will lead directly to your form)
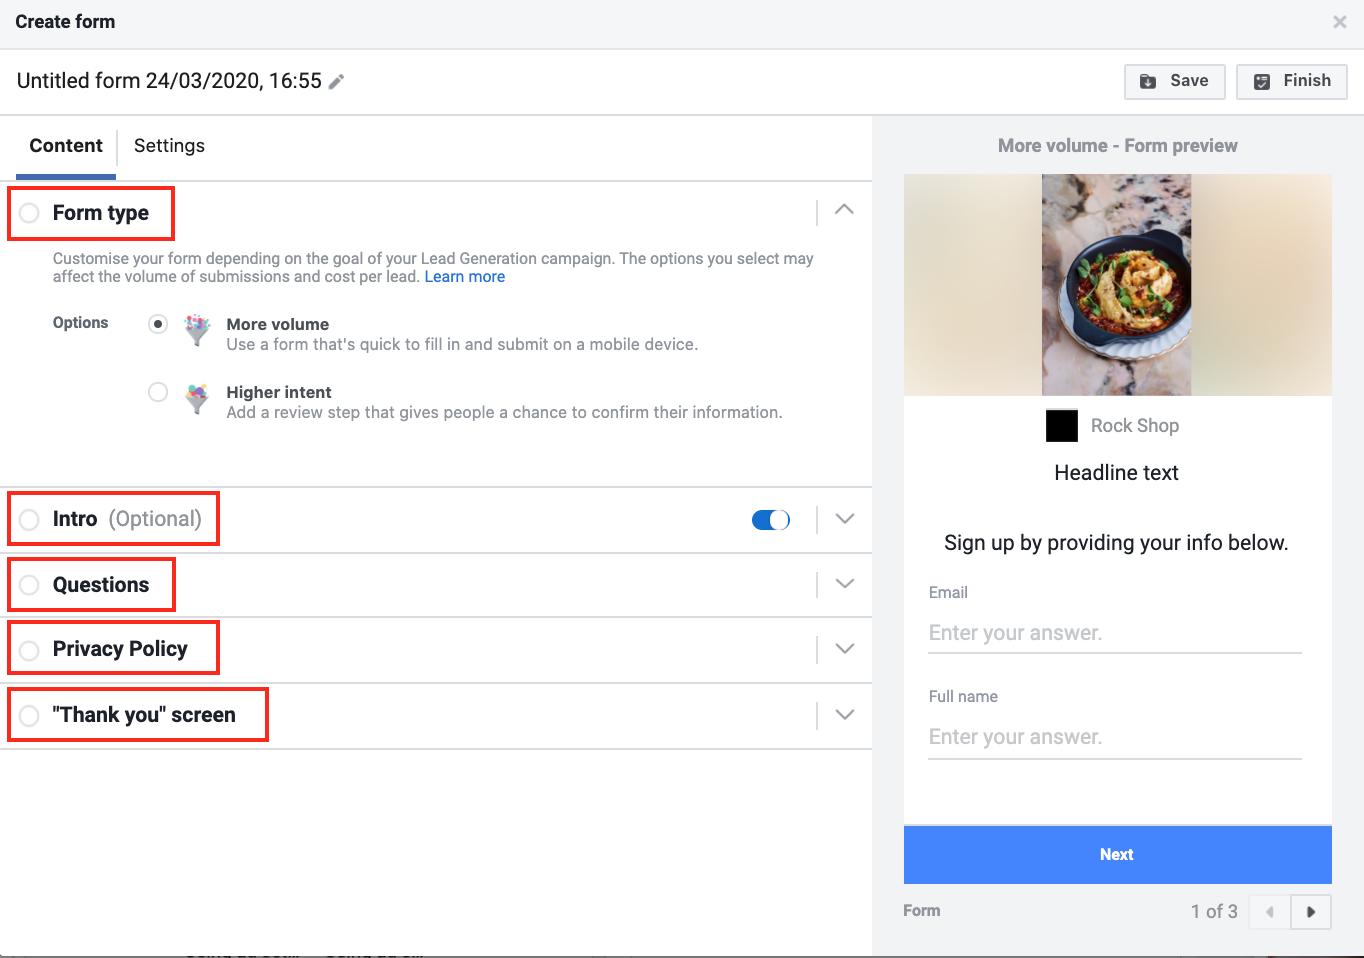
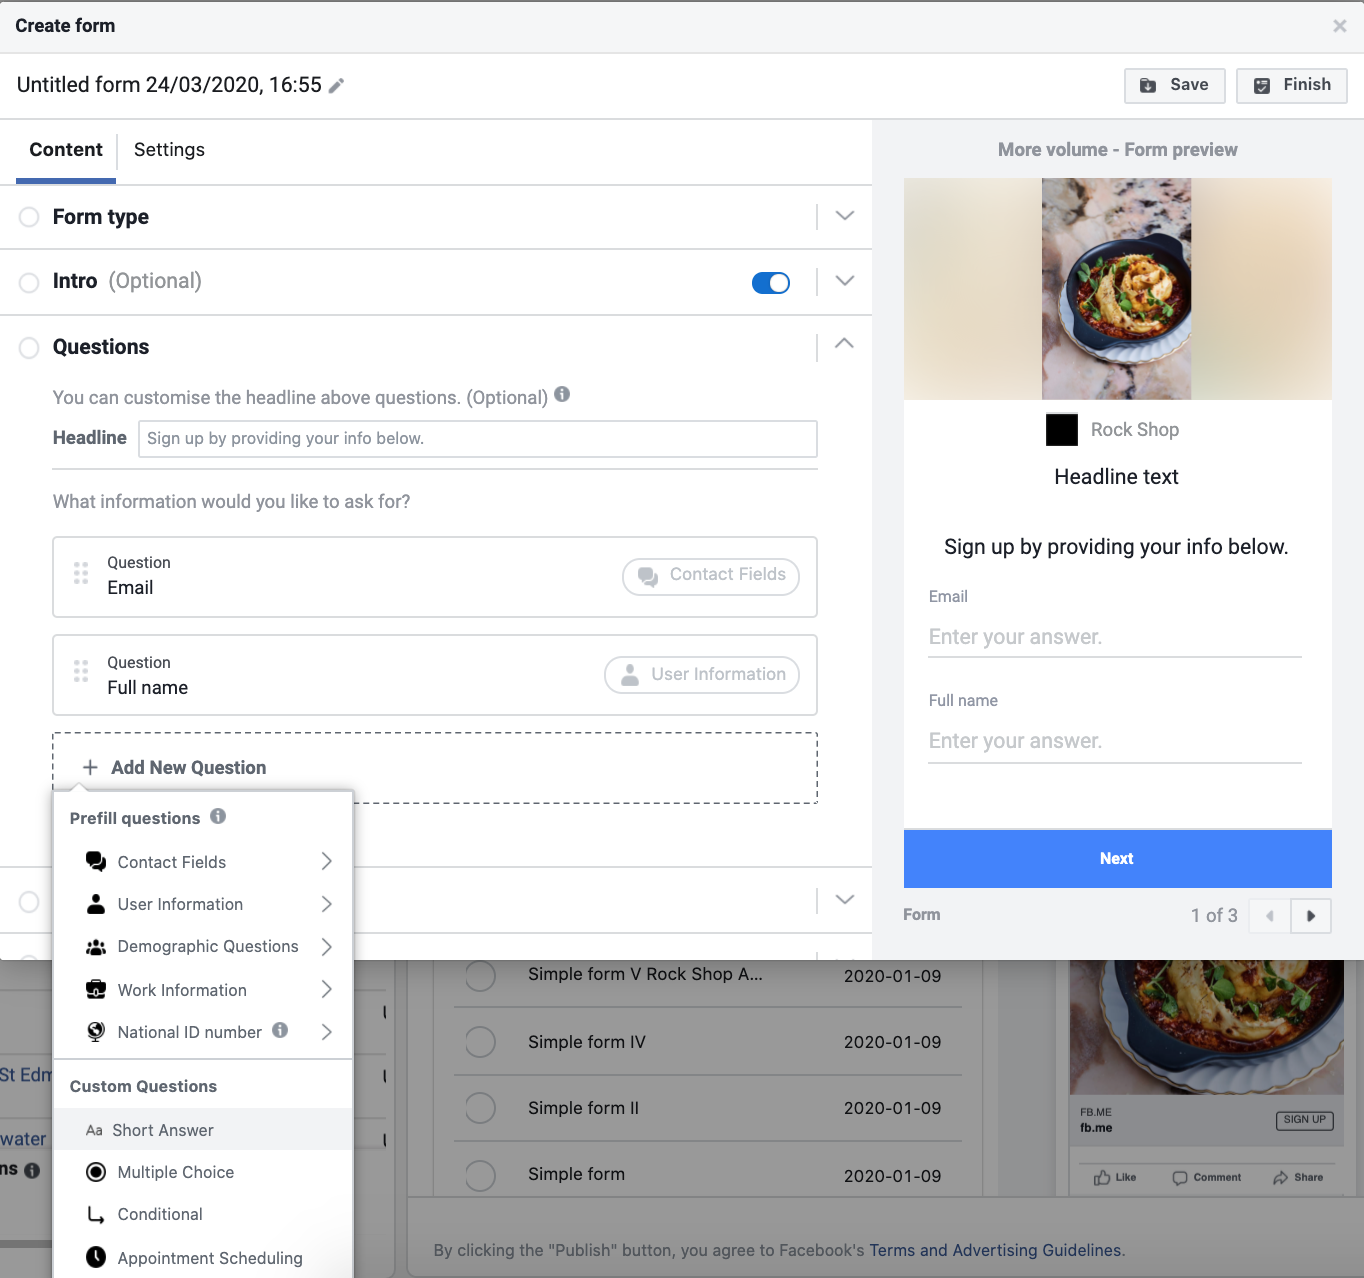
7. Scroll down to Instant Form and select Create Lead Form. Here you can add a form title, intro, questions, your company’s privacy policy, and a thank you page.
- Form Type - You can choose two types of form: more volume or higher intent. More volume will help to ensure your form is completed by as many people as possible, while higher intent adds an additional step allowing users to double check and review the info they are submitting. This extra step is a good option if you are looking for a higher lead quality.
- Intro - This section will explain why people should fill out your form
- Questions - You can choose two types of question: Standard questions (eg. name, email) and custom questions. Standard questions are for simple personal details and most of these are pre-populated. Use custom questions to ask additional questions that are specific to your business, for example which car model someone wishes to test drive or when someone is hoping to make a purchase.
- Privacy policy: Facebook’s lead ads require a link to your company’s privacy policy. You can also add any custom terms and conditions and add checkboxes to collect marketing consents.
- Thank you page: This screen will appear once the form has been submitted successfully. You can use this to tell the user what will happen next, (eg. “Your nearest dealer will be in touch within 24 hours” or “Please check your inbox for your voucher”). You can also include a call to action or download link here too.
8. When your form is ready to go, click finish in the top right corner. Remember that you cannot change forms once they have been published, any changes would need to be made in a duplicate of the form.
9. Review your ad in Ads Manager, and when you’re ready to publish, click Confirm.
10. Watch the leads roll in! You can access and download leads manually through the page settings section of your page, or alternatively use one of our powerful tools to forward leads directly to a CRM system.