.svg)
Setting up a Facebook Lead Capture
Getting started
> Step 1
Log into the platform and click on + Add Campaign then click on the channel for the form you have created.
> Step 2
Name your capture, you’ll then be prompted to select the page and form you would like to associate the data capture to.
You will be redirected to the Source section, the platform will automatically pull the field names that you have created in your form.
Source mapping
Now that you have selected your form, its time to start mapping the incoming form fields to a Driftrock field where we will store your data.
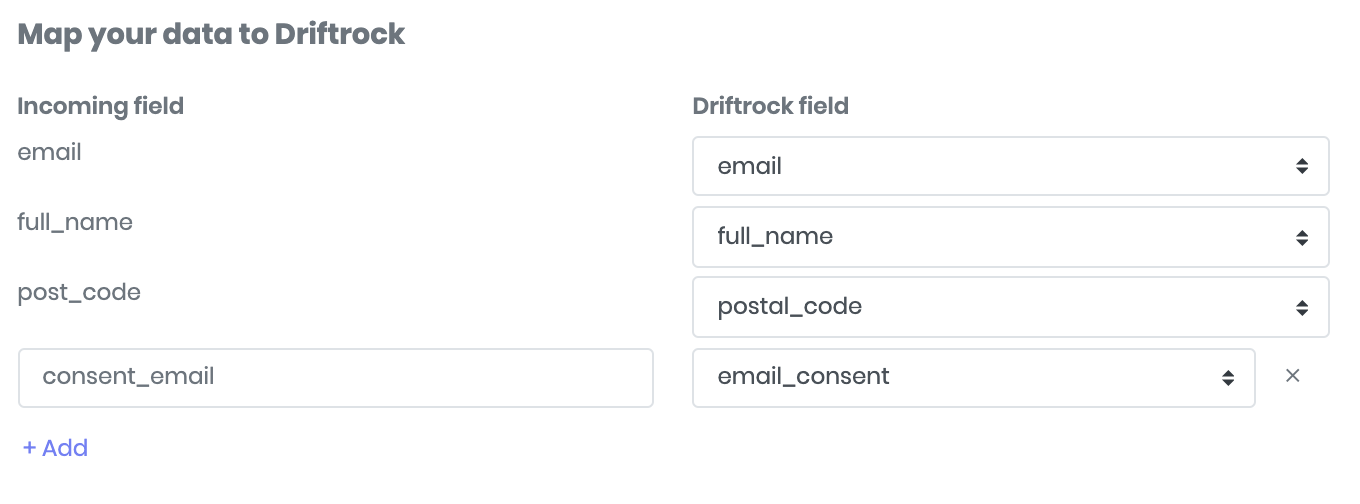
> Step 1: Mapping incoming fields
Start mapping the incoming fields from the source using the drop down list. You also have the option to create a custom Driftrock field in the dropdown list.
Note: Facebook does not automatically pull in the consent fields. If you have consent checkboxes, head over to your Settings in Facebook Ads Manager and check the incoming field names so you can manually insert them.
Here's an example below:
> Step 2: Adding static fields (optional)
You can add any value you would like and associate it to a Driftrock field when you create a new data capture. For example, you may want to attach a campaign ID, lead type or model type to each lead coming from this campaign.
Example:

Mapping the Driftrock fields to your CRM
Now that you have built and customised your form, the final stage is to map your Driftrock fields to your CRM. Head over to the Destinations section and select your CRM.
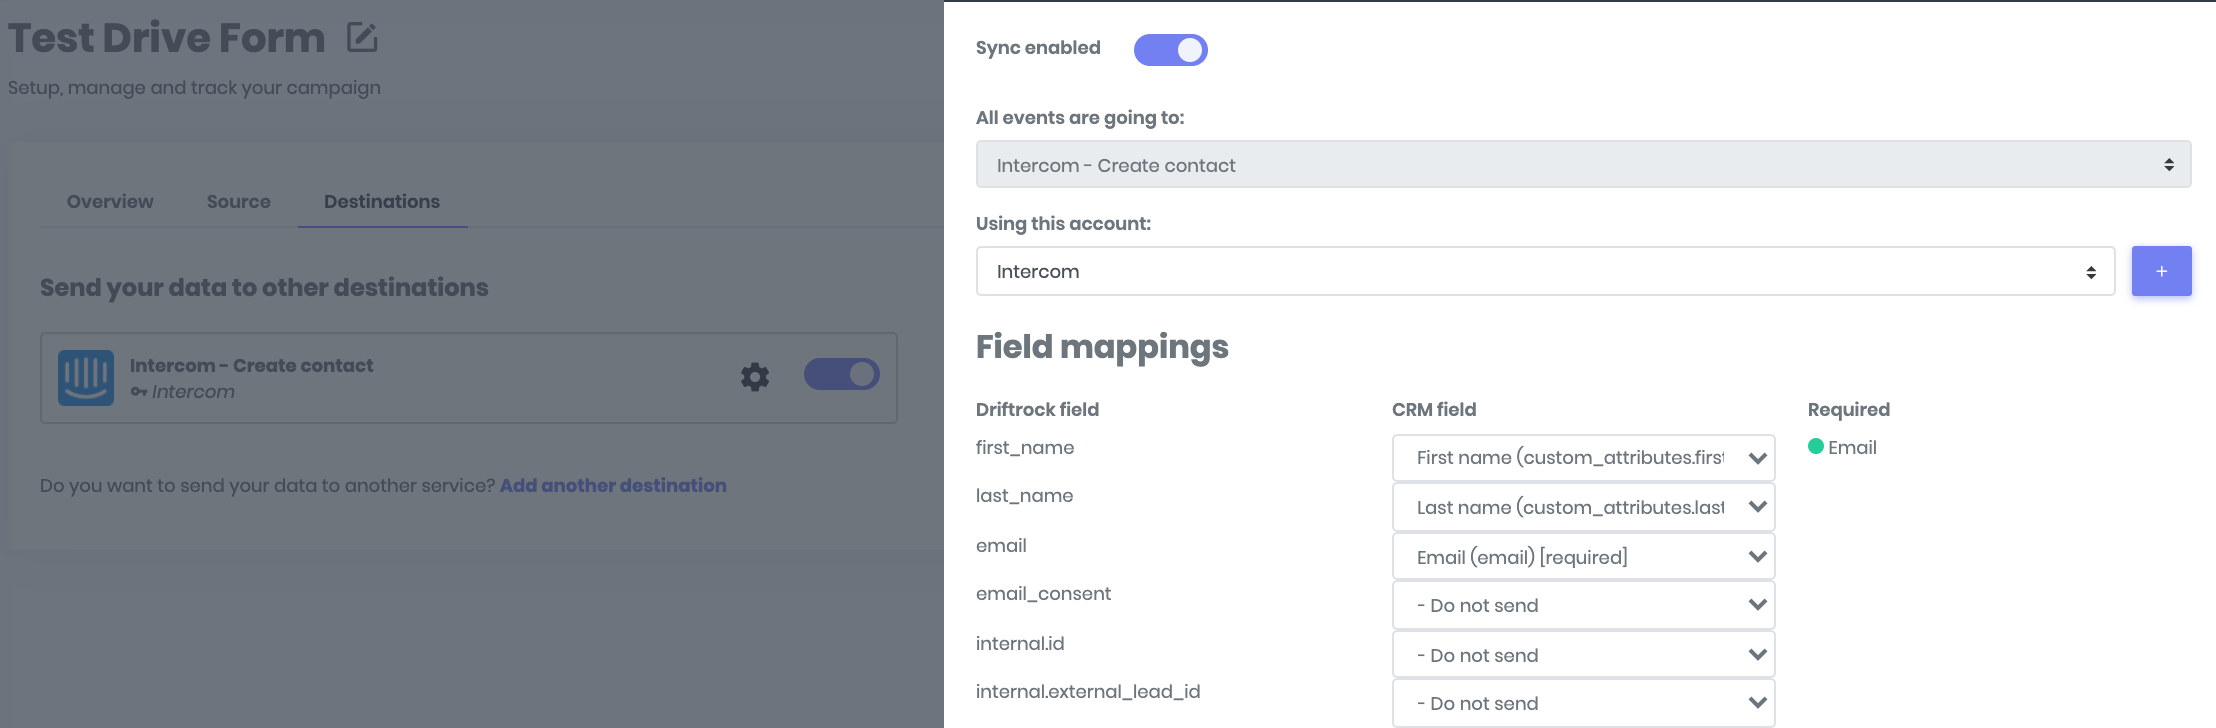
> Step 1: Select your destination & environment
You will be given the option to select a new destination where you will choose your CRM platform. Your Driftrock fields will appear, start mapping them to your CRM fields.
Once you’ve mapped all your fields, enable the capture by switching ‘Sync enabled’ on at the top of the page.
Note: Once you have finished setting up your smart form, head back to your lead captures and activate the sync.